Important GIT COMMANDS
1) Create a new repository
git init

Executing this command creates a local repository with a default main(or master) branch.
To connect this local repository to Github, we need to create a remote repository on Github. And connect the remote repository’s origin with the local repository.
git remote add origin https://github.com/YOUR-USERNAME/YOUR-REPOSITORY

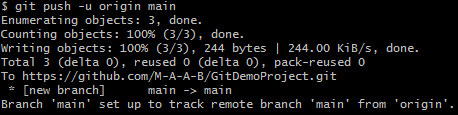
Finally, push the main branch on Github.
git push -u REMOTE-NAME BRANCH-NAME
2) Make a new branch
The gold standard for implementing a new feature is to create a new branch and put all the code in it. This keeps the existing code safe from bad implementation.
git checkout -b NEW-BRANCH-NAME

-b option switches or checks out from the current branch to the newly created branch. It is always better to first switch to the main(master) branch before creating new branches. The main branch usually has the most up to date code.Once we create a new local branch, it should be pushed to the remote repository — as done before.

3) Switch branch
When you start working on a new project, it is always better to have a general idea about the branches in the repository.
git branch

git checkout BRANCH-NAME

The checkout command works well if you have no uncommitted updated files in the current branch. Otherwise, these uncommitted changes will cause an error. It is always better to commit or stash the changes in your current branch before switching to another branch.


4) Stash/un-stash files
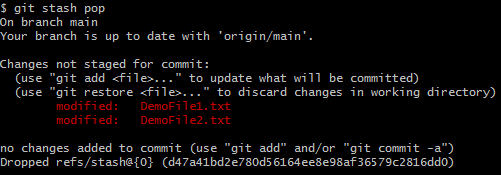
One of the ways to resolve the checkout error is to stash the changes. This is usually done temporarily to save the work you have done so far in the current branch — if you are not ready to commit these changes.
git stash

git stash pop
5) Check branch status
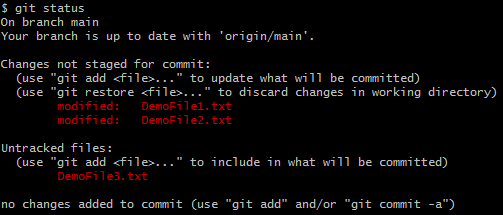
I have a weird habit of checking branch status quite frequently. It gives all the necessary information about the current status of the branch. We can check all the staged or untracked changes.
git status
6) Rename local branch
Branch renaming is not one of the more frequently used Git commands but it’s handy when there is a typo. Or in my case, renaming branches to make a consistent Git directory structure.
git branch -m OLD-BRANCH-NAME NEW-BRANCH-NAME

7) Rename remote branch
Once you have renamed the local branch, it is time to change the name of the corresponding remote branch.
git push origin :OLD-BRANCH-NAME NEW-BRANCH-NAME
This command deletes the branch with the old name and creates a new branch with the same code base.
8) Synchronise branch changes
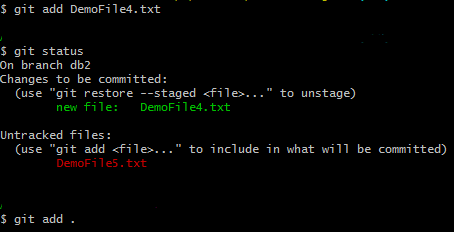
Once a new file has been created or an existing file has been updated in your project, we have to add those files to the next commit.
# To add all changes
git add .
# To add a specific file
git add FILE-PATH
When all required changes have been added to the commit, it is time to commit these changes and write a unique commit message. Commit message can be any string that can describe your work in a few words.
git commit -m "COMMIT-MESSAGE"

Finally, push this commit on the remote repository using the git push command. You can also update or amend your commit.
git add FILE-PATH
git commit --amend -m "CHANGE-COMMIT-MESSAGE"
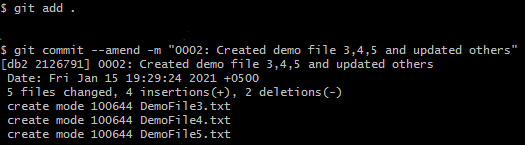
This has been one of my favorite Git commands. Code review is very important when you are working in a team. Senior developers or team leads often point out important issues in the code. Instead of creating a new commit to fix these issues, we followed the convention of having one commit per branch — git amend proved handy.
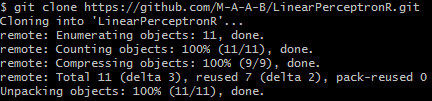
9) Clone repository
The first git command I executed for my first live project was git clone. I was asked to clone the project on my local system to understand the code, add a few functionalities, and push the code back via a merge request.
git clone https://github.com/YOUR-USERNAME/YOUR-REPOSITORY
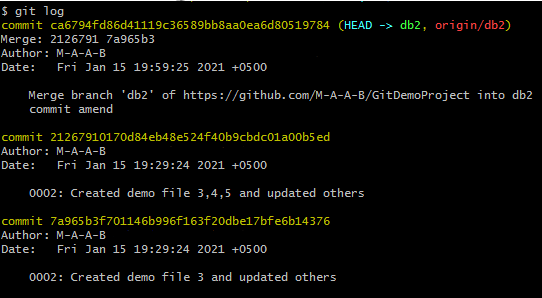
10) Checking commit log
Logs are an important part of software development. A software maintains log files to keep track of all steps followed during its lifecycle. Git also provides a log to keep track of all the commits.
git log
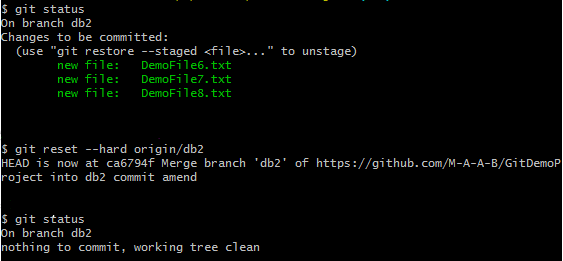
11) Reset to the last commit
Having the power to reset or undo a task is a lifesaver. In my early days as a developer, I once made the mistake of making changes to live production code. It was a blunder. To my surprise, I was not fired. What saved me from doing any more damage was the reset command. It allowed me to revert all changes in an instant to the last working commit.
git reset -hard origin/BRANCH-NAME
12) Merge local repository with the remote repository
This is where the magic happens. When we are working on software, we usually maintain three copies of the codebase.
One is the local copy on which the developer works and performs the required tasks. Second is the staging copy or staging server where these tasks are deployed and shared with the client. The client gives feedback on all the new changes made to the software. The development team then works on these changes and deploy them back on the staging server. This cycle continues till the client approves these changes to be deployed on the third and final production server.
Every time a new feature is deployed or an existing feature is updated we perform the merge operation. Updated code files from the Github remote repository are merged with the local repository on these three servers.
The most common issue while merging repositories is the merge conflict. These conflicts must be resolved to complete the merge operation.
# Fetch remote from github
git fetch REMOTE-NAME
# Merge remote branch with local branch
git merge REMOTE-NAME/BRANCH-NAME

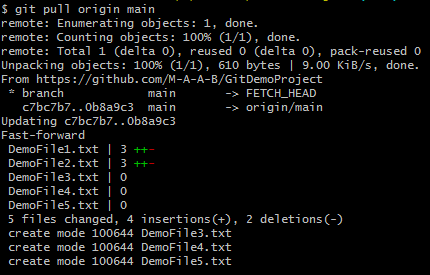
The merge operation is performed in two steps. We fetch or download the remote from Github which contains the required codebase. Then merge the remote and local branch histories.
Another way to perform merge is git pull. Pulling works in the same way as merge, with the added benefit of fetching. Instead of performing the two operations separately like shown above, git pull performs both fetch and merge — joining two or more branches.
git pull REMOTE-NAME BRANCH-NAME
13) Move a commit from one branch to another
When you are collaborating on a project, it is preferred that each developer works on a separate feature — too good to be true. Depending on the complexity of a task, it is divided among multiple developers.
High cohesion and low coupling are often ignored or impractical. This creates many problems during development.
I have worked on several such features. In most cases, I was required to get the unfinished code from some other branch and try to expand on it while keeping the unfinished parts in mind as well. git cherry-pick played an important role.
git cherry-pick COMMIT-HASH
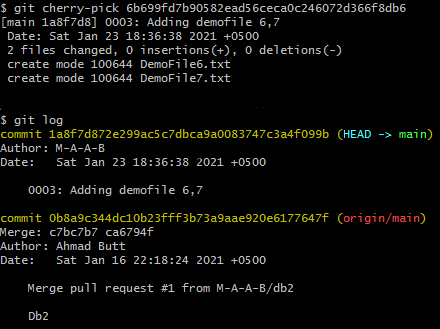
This command applies the selected commit on the current branch, which is also quite handy during bug hotfixes. Though cherry-picking is useful, it is not always the best practice. It can cause duplicate commits, which is why merge is preferred in most scenarios.
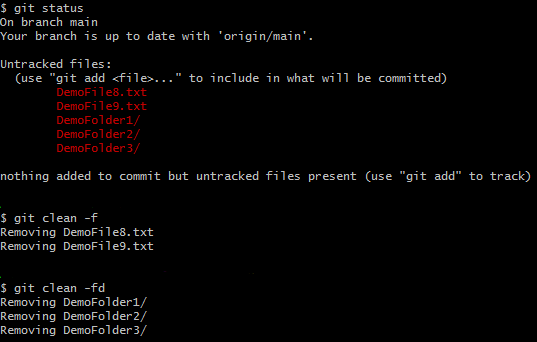
14) Remove untracked files & directories
Files and directories which have not been committed yet can be easily removed from the working directory using git clean. I use it to remove unwanted files and directories created by my IDE.
# To remove untracked files
git clean -f
# TO remove untracked directories
git clean -fd
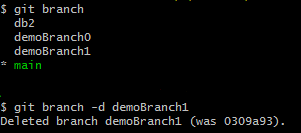
15) Delete a branch on a local repository
If a branch is no longer required it is always better to clean the repository by deleting that branch. To remove the branch in the local repository, use git branchwith -d option.
git branch -d BRANCH-NAME
# To forcefully delete a local branch. Be careful
git branch -D BRANCH-NAME
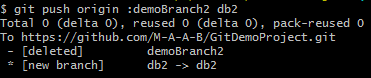
16) Delete a branch on a remote repository
Deleting a branch on the remote repository is similar to pushing an update on remote using the same git push command with --delete option.
git push REMOTE-NAME --delete BRANCH-NAME

17) Ignore Git permission changes
I worked on a Linux based system where setting file permissions using chmodare very important for security. During development, we normally change the mode of files to 777 to make them executable. Git picks up on these permission changes and shows them as updated files in git status.
git config core.fileMode falseGit allows us to ignore these changes by changing the fileModeto false in its configuration.
18) Fix .gitignore
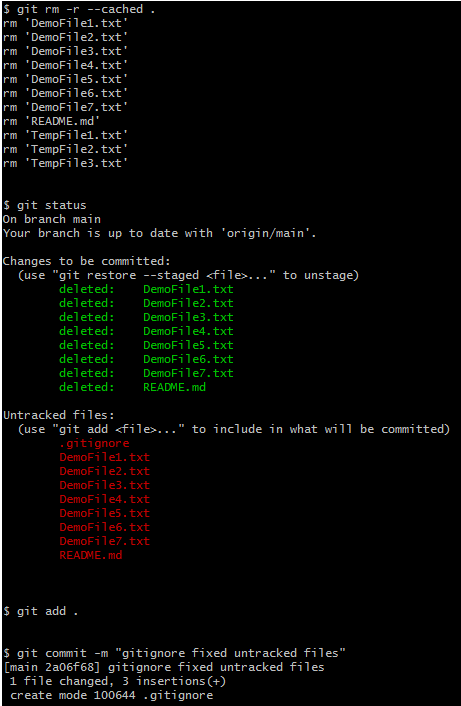
.gitignore file is a blessing that helps us to ignore committing unwanted files to the repository. But if the files are already being tracked by Git, it becomes a pain.
Thankfully, there is an easy fix. It requires removing the cached .gitignore index and adding it to the repository again.
# To create a new .gitignore file
touch .gitignore# To untrack the unnecessary tracked files in your gitignore which removes everything from its index. Specific filenames can also be used instead of dot(.).
git rm -r --cached .
git add .
git commit -m "gitignore fixed untracked files"


Comments
Post a Comment